7 Best Posing Tips For Model Test Shoots

For successful model test shoots, master weight distribution by shifting to your back leg for natural poses. Create fluid changes between positions rather than static stances. Perfect facial expressions beyond basic smiles by practicing "smizing." Use props and environments to inspire authentic moments. Incorporate angles that highlight your best features. Develop a personal posing sequence for confidence. Embrace candid moments between structured poses. The techniques in this guide will transform your portfolio from amateur to agency-ready.
Key Takeaways
Create a personalized posing sequence before the shoot that progresses from simple to dynamic poses.
Shift weight to the back leg and create an S-curve silhouette for flattering, elongated proportions.
Practice facial expressions beyond smiling, including "smizing" and varied lip positions to showcase versatility.
Incorporate fluid movement between poses rather than holding static positions for more natural results.
Interact with the environment and props naturally while maintaining relaxed body language and authentic expressions.
Distribute Your Body Weight
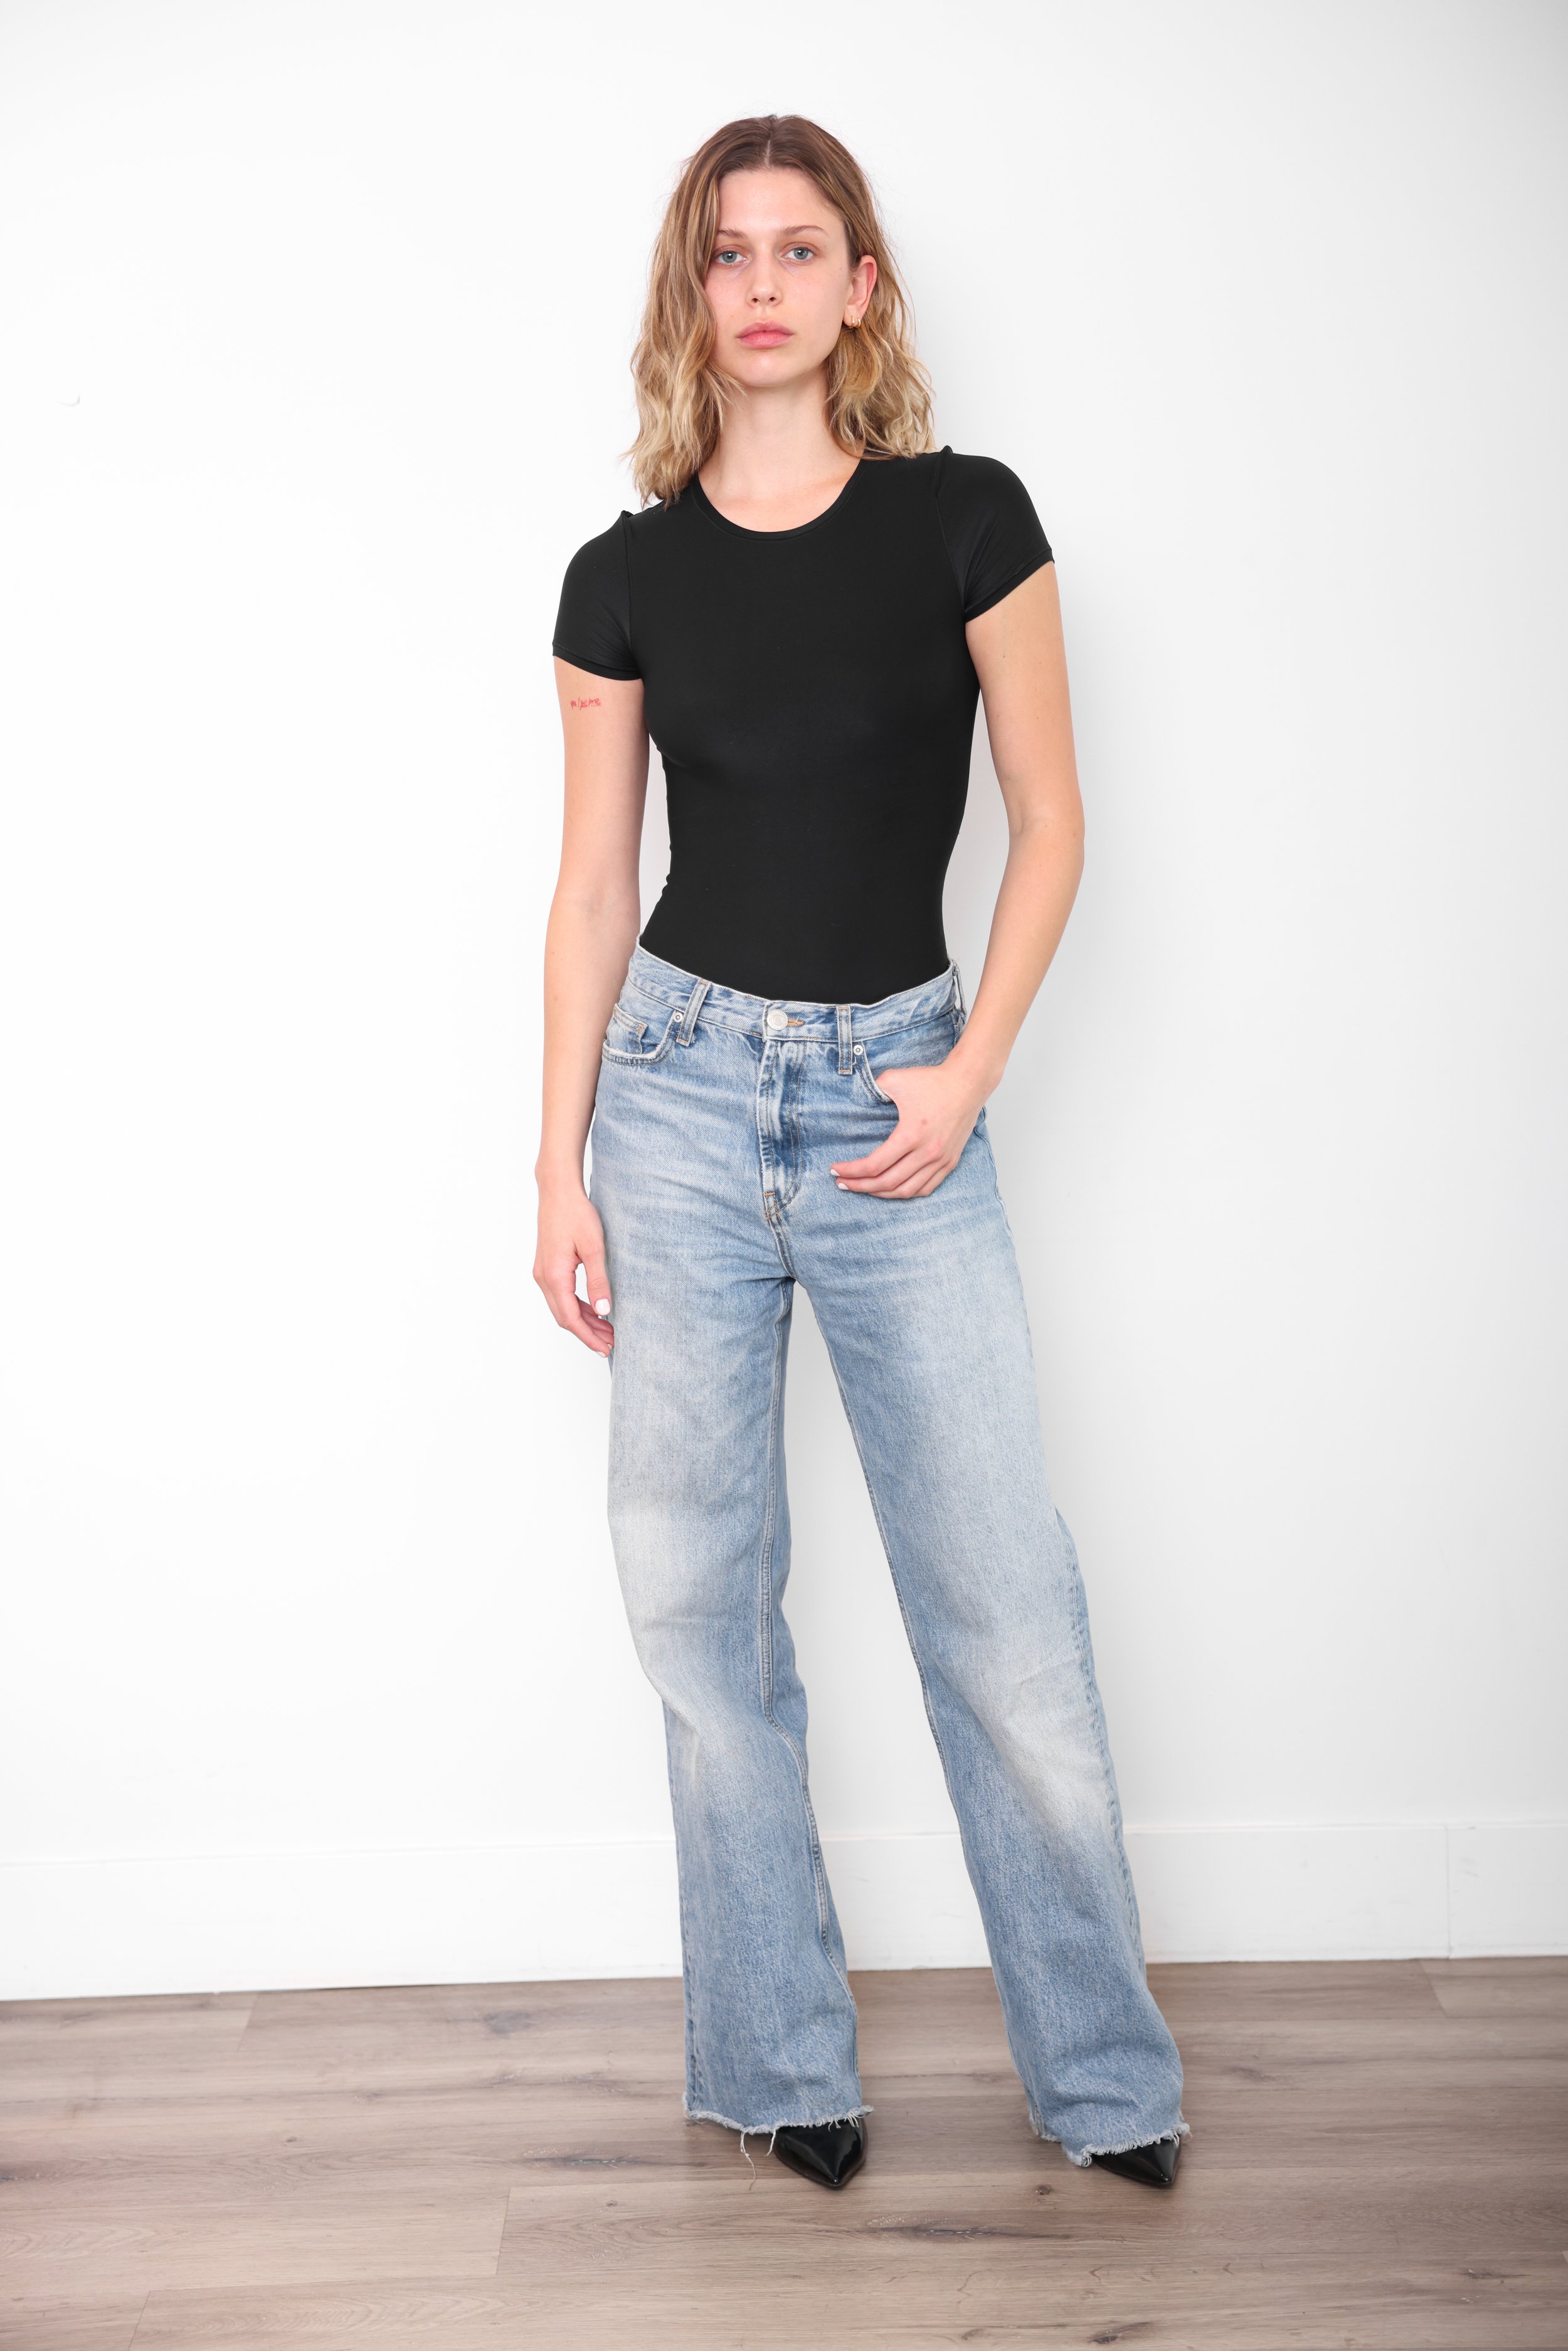
When it comes to posing, understanding how to distribute your body weight is absolutely essential for creating compelling photographs. To achieve the feminine pose, shift your weight to your back leg, cross your front leg over, and point that foot inward with a slightly bent knee.
For a masculine stance, keep your weight on the back leg but place the front leg forward without crossing, with your front foot pointing outward. Your weight placement directly affects your body language, creating either soft, graceful lines or strong, confident ones.
Remember that contact points with surfaces should visibly compress to show realistic weight bearing. For authenticity in your poses, create a subtle flattening at contact points where your body meets a surface like a chair or floor. Placing weight on the back leg is especially important for female models as it helps reduce muscle tension in the front leg, making it appear slimmer in photographs. Additionally, mastering classic poses can enhance your ability to convey emotion and style through body language.
When shifting weight to one leg, allow your hips to drop slightly to that side, maintaining upright posture for a fluid, natural look rather than appearing stiff or mechanical.
2. Create Fluid Movement Between Poses

Unlike static photography, the most enchanting model shots often emerge from fluid, continuous movements rather than rigid poses.
To achieve this flow, incorporate movement disciplines like yoga or dance into your practice routine, building body awareness and muscle memory that translates to seamless changes during shoots. This practice enhances your ability to utilize correct limb positioning, which improves your appearance on camera.
Use breath control to maintain relaxation and coordinate your movements, preventing stiffness that can disrupt your posing sequence.
Interact with props and your environment to guide natural changes, giving your hands purpose and creating visual storytelling opportunities. Creating multiple effective angles during your movements allows photographers to capture diverse shots that showcase your versatility and best features.
Experiment with asymmetrical positioning and varied angles to create dynamic lines that lead the viewer's eye through the image.
After each session, review feedback from your photographer to identify which movements photographed best, refining your approach for future shoots. Continuous improvement in posing skills significantly benefits modeling careers, making it essential to always seek ways to enhance your performance.
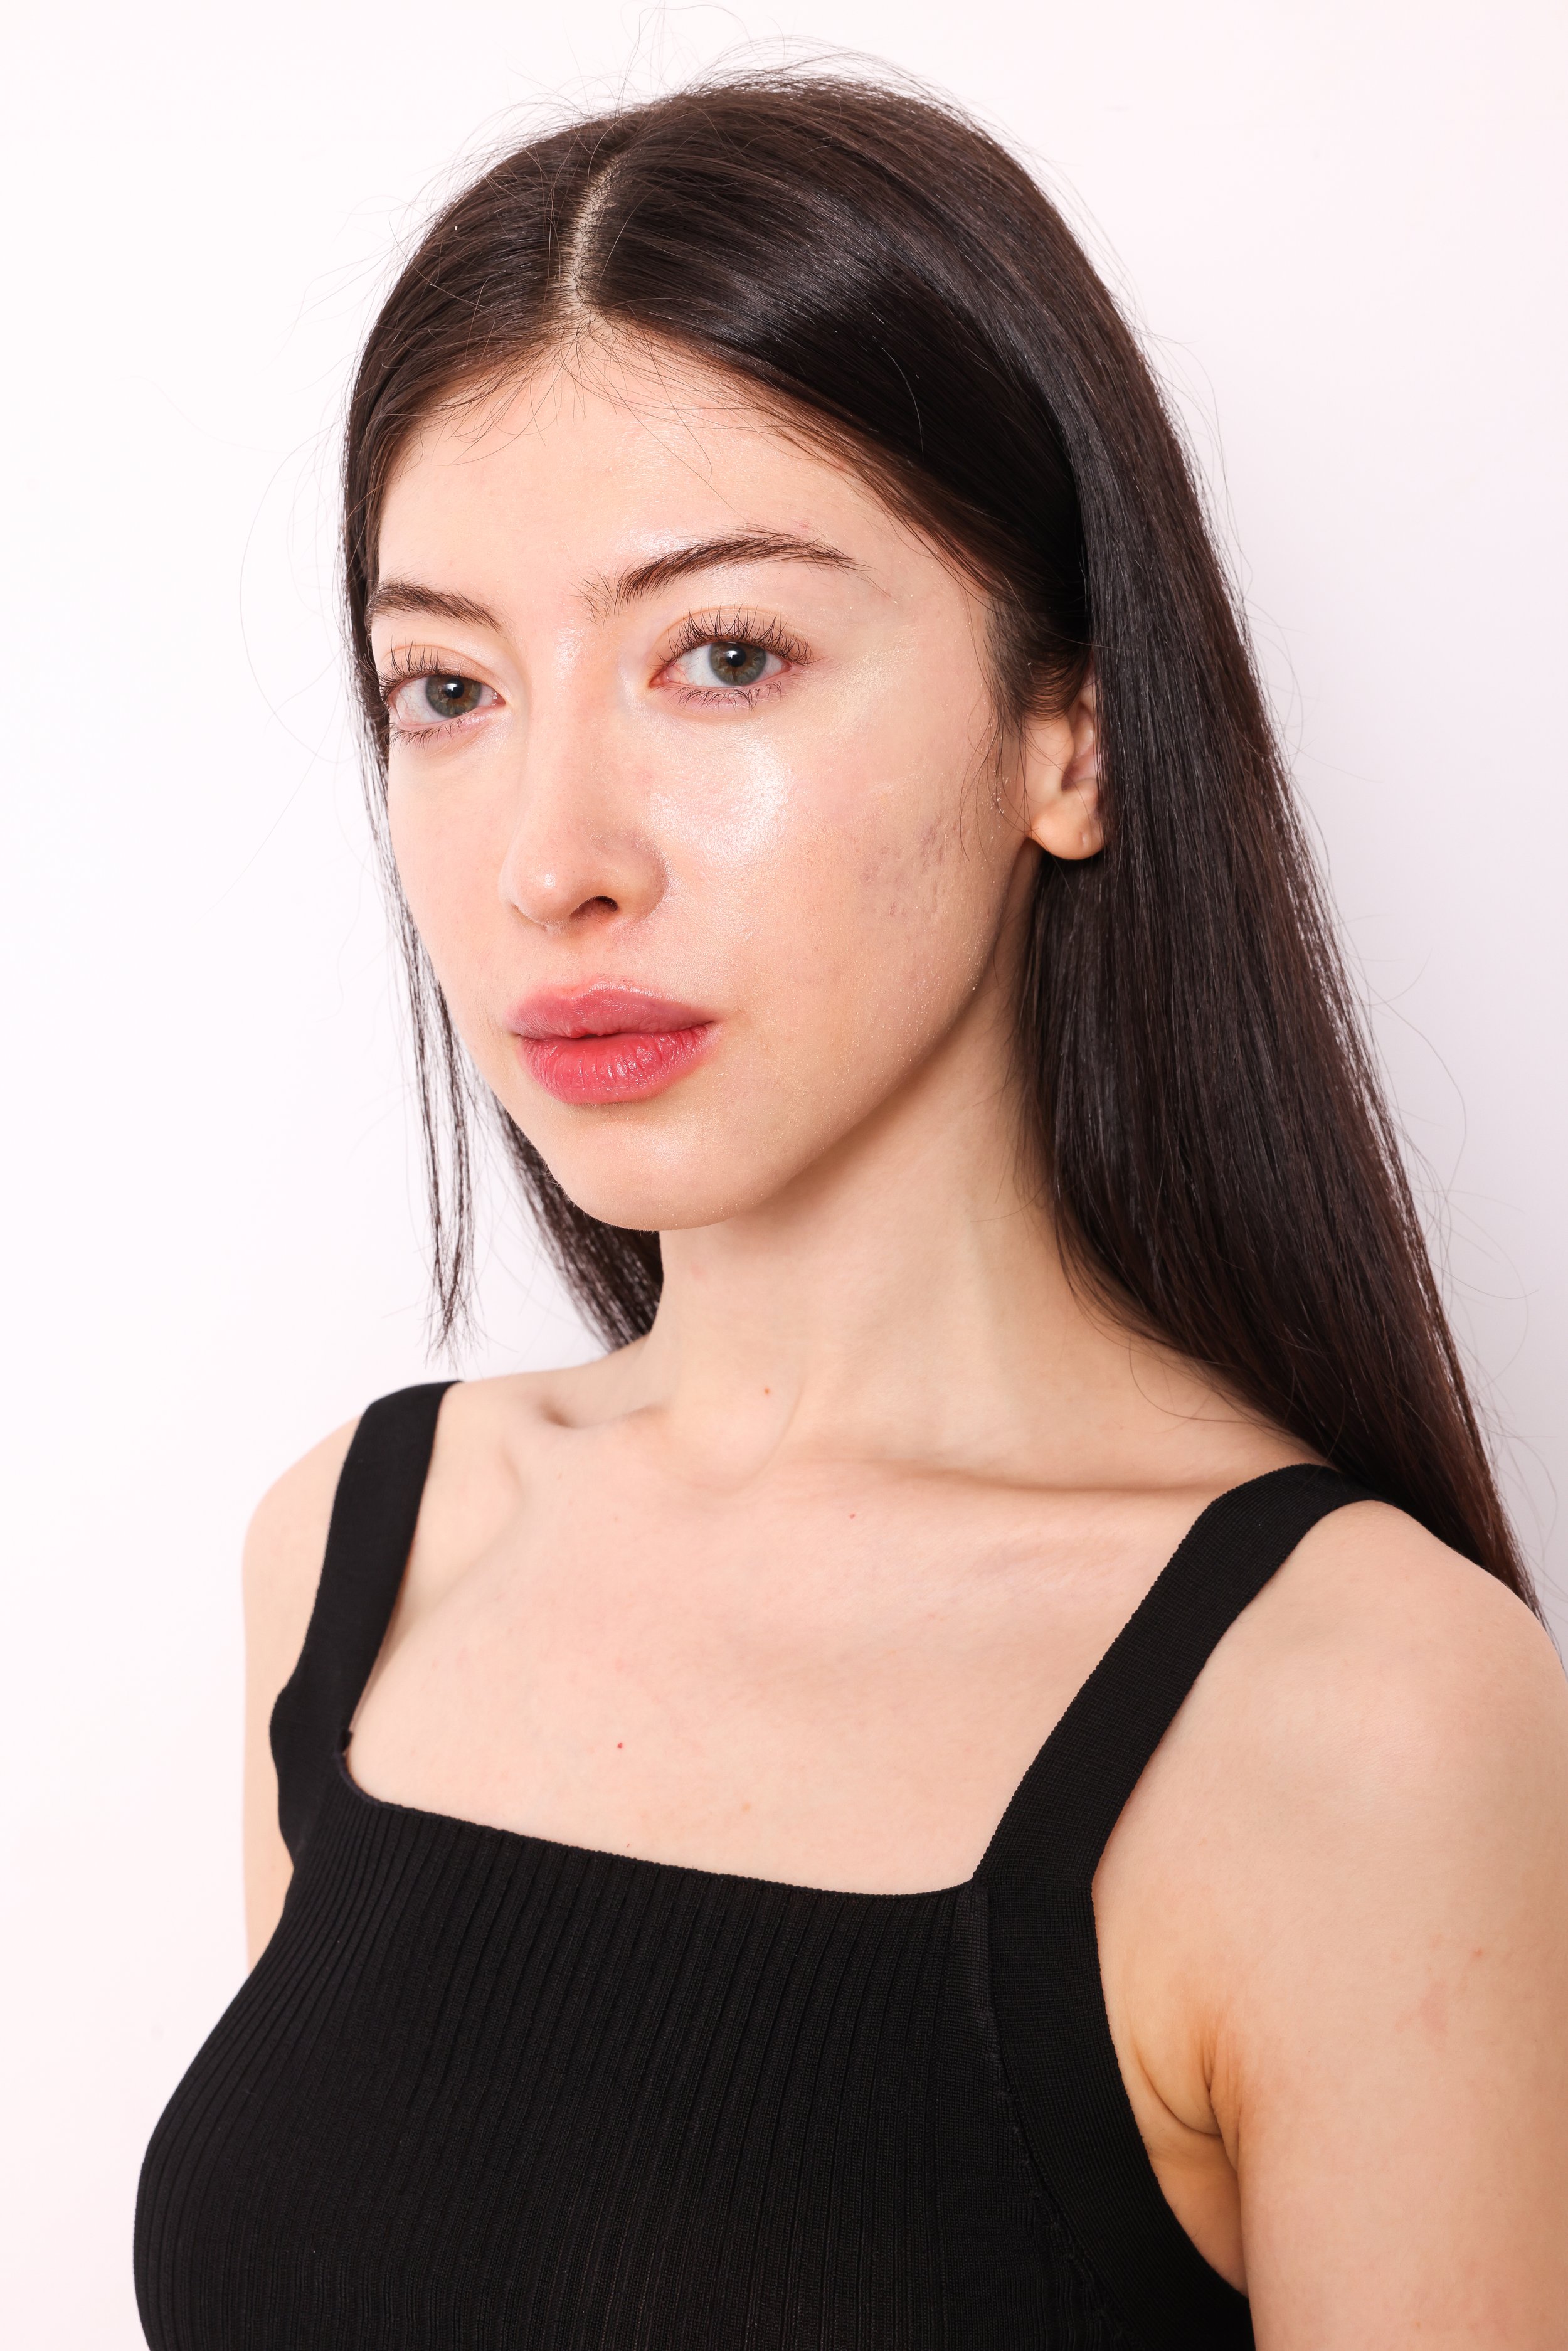
3. Perfect Your Facial Expressions Beyond The Smile

While fluid movement creates dynamic body positioning, your face tells the real story in any photograph.
Mastering facial muscle control starts with understanding key muscles like the frontalis, orbicularis oculi, and zygomaticus major that drive expression. Additionally, knowing how to utilize neutral makeup choices can enhance your facial features without overwhelming your natural beauty.
Develop eye expression techniques beyond smiling by practicing "smizing" and varying your gaze direction to convey different moods.
Focus on micro expression authenticity by using mental imagery to evoke genuine emotions rather than forced poses. Quality headshots require genuine expressions that showcase your unique personality and versatility to casting directors.
For the fierce expression, photographers recommend you bite down and clench your jaw muscles while maintaining direct eye contact with the camera to convey confidence and attitude.
Experiment with lip variation tips including slightly parted lips, tongue placement, and subtle mouth movements to transform expressions from serious to contemplative.
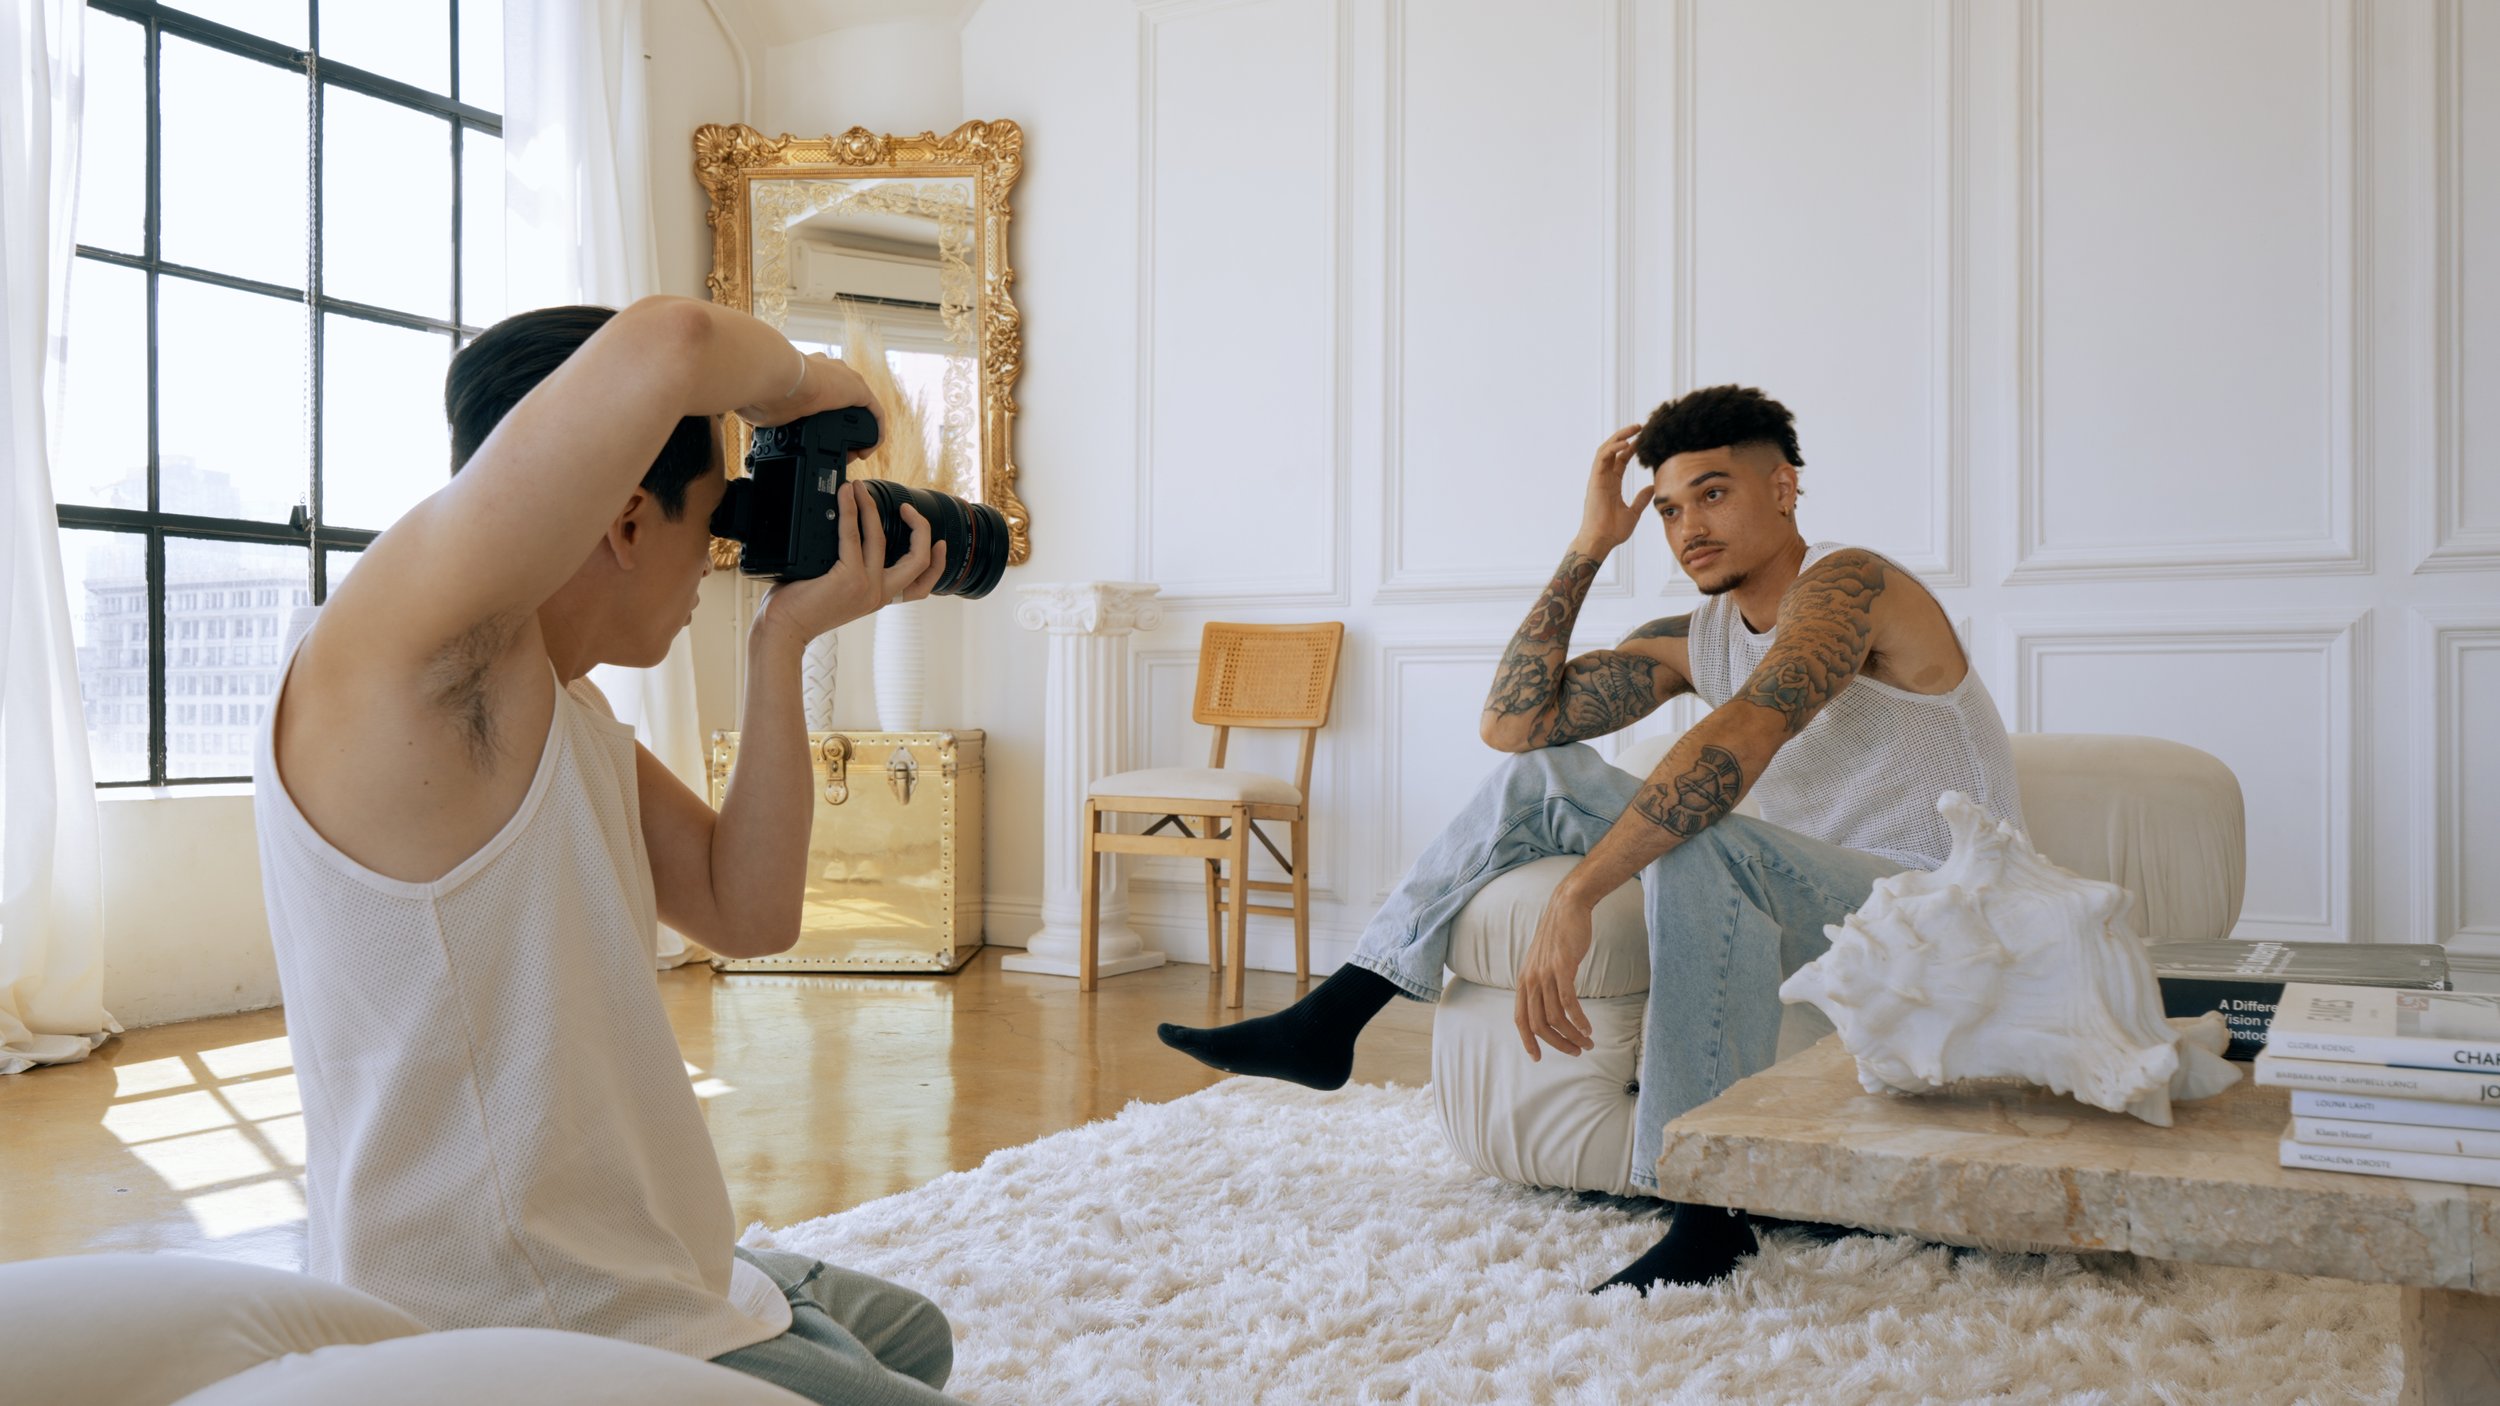
Need A Test Shoot?
Your book determines your income. The stronger the book, the higher chances of you getting signed and working. Learn more about booking a session with Brandon Andre below.
4. Use Props and Your Environment Creatively

Props transform ordinary photoshoots into compelling visual stories that captivate viewers and display your modeling versatility.
When approaching prop selection, choose items that complement your shoot's theme without overwhelming your presence. A coffee cup adds authenticity to lifestyle shots, while fashion accessories improve editorial concepts without stealing focus. Switching poses regularly while interacting with props keeps your movements fluid and adds valuable variety to the final photo collection. Additionally, utilizing eclectic clothing can enhance the overall aesthetic of your shoot and showcase your personal style.
Interact with your environment naturally, whether leaning against walls, sitting on steps, or incorporating natural elements like trees or water features. These interactions create dynamic compositions and illustrate your adaptability. Long flowy dresses paired with capes or jackets create especially striking visuals when incorporated as prop-like elements in your poses.
Hold props with a relaxed grip to maintain fluidity in your poses, and experiment with different heights and angles using stools or other level-changing elements. Practicing poses in front of a mirror can also help you discover your best angles and improve your confidence during the shoot.
5. Use Angles to Highlight Your Best Features
Angles make the difference between amateur-looking photos and professional portraits that highlight your best features. Avoid facing the camera straight on, which flattens your face. Instead, turn your body slightly away from the camera for profile emphasis while maintaining eye contact to create depth.
Experiment with angle variations by tilting your chin subtly up or down to define your jawline. Shift your weight to one leg to create an S-curve that elongates your silhouette. The S-Shape Pose accentuates the natural curves of your body, instantly elevating your modeling presence with elegance.
Understanding how to use body positioning effectively creates balance and symmetry in your photographs, making you appear more professional and polished. Additionally, remember that good posture not only enhances your presence but also exudes confidence in every shot.
For dynamic compositions, position your arms at slight bends and keep fingers relaxed and natural. When working with photographers, request shots from slightly above eye level or in three-quarter view to improve facial dimensions.
6. Develop a Personal Posing Sequence

Creating a personal posing sequence forms the backbone of any successful model test shoot. Before stepping in front of the camera, establish clear sequence objectives that align with your portfolio needs and the shoot's purpose. Customizing poses for your body type guarantees you'll highlight your unique attributes effectively.
Design your sequence to flow naturally, like a choreographed performance rather than disconnected static positions. Start with comfortable poses to build confidence, then progress to more dynamic ones. Include variety in expressions, stances, and angles to demonstrate versatility.
Prepare visual references and practice your pose customization beforehand, either mentally or physically. During the shoot, remain flexible enough to adapt when necessary while maintaining your sequence's core structure. This balanced approach will help you develop signature poses that feel authentic and photograph beautifully. Additionally, having modeling digitals prepared will enhance your chances of getting signed by agencies, as they seek a clear representation of your look.
7. Use Natural Moments Between Poses

While structured poses provide the foundation for a successful test shoot, the magic often happens in those unplanned moments between poses.
Instead of rushing to the next pose, embrace those candid moments that naturally emerge. Try subtle movements like running fingers through hair or gentle swaying to maintain fluidity.
Try to focus on something beyond posing like simple tasks or conversations that shift attention away from the camera.
Use environmental elements like natural wind or changing light conditions to your advantage. Remember, your best shots often happen when you briefly forget you're being photographed. By continuing to improve your skill improvement through training and workshops you can also enhance your model's ability to capture genuine moments.
7 Best Posing Tips For Model Test Shoots
You'll notice your posing skills improve dramatically as you practice these techniques consistently. Remember, effective posing is about confidence, preparation, and understanding how your body photographs best.
Don't be afraid to experiment beyond these guidelines as you develop your personal style. With time, posing will become second nature, allowing you to focus on conveying genuine emotion and creating memorable images that highlight your unique qualities.